

How to Draw a Knight in Plate Armor

Now we will show you how to draw a knight in plate armor with a sword and shield characteristic of the late Middle Ages.
In one of our other tutorials, we showed you how to draw a knight in early medieval chain mail armor with a great helm, or heaume.
There, we also explained that the outfits of medieval knights differed greatly depending on the period.
In this lesson, we want to show you one of those variations in detail, focusing on a version that differs noticeably from what we demonstrated in the main knight drawing lesson.
The armor in this tutorial is also based on our armor drawing lesson, where we showed the process of drawing medieval plate armor, but in the context of separate equipment rather than a person wearing it.
How to draw a knight in plate armor step by step
Step 1: Sketch the warrior’s head and toros guides
At first, draw the skeleton of the knight before adding the plate armor. Using a circle, sketch the head of the medieval warrior. Sketch the body using light and loose lines. The shoulder and pelvis lines show the rotation of the torso.

Step 2: Sketch the knight’s arms and legs
Now draw the arms and legs using simple lines, indicating the pose and the bends of the limbs. In this drawing, the knight is standing with a shield and sword, but you can choose any other pose. The height of the torso is equal to two head heights, and the height of the legs is equal to the height of the torso.

Step 3: Draw the helmet guides, shield, and sword
Sketch the facial symmetry lines. The lines should intersect in the center of the face. They will help you place the details of the helmet correctly. Sketch the outlines of the shield and sword. Using a wavy line, draw the plume on the helmet. Using a cylinder, draw the neck.

Step 4: Add volume to the torso and arms
Outline the medieval warrior’s shoulders using spherical shapes. Sketch the torso in the form of a rectangle. Sketch the visible arm, which consists of two equal cylinders. Then roughly indicate the knight’s shield in one hand and the sword in the other, still using only basic shapes.

Step 5: Draw the pelvis and legs of the knight
Draw the triangular pelvis of the knight, keeping in mind that it is covered with plate armor. Sketch the legs, each consisting of two equal cylinders. Draw the feet as well, remembering that later they will be covered with segmented armor.

Step 6: Draw the knight helmet and neck armor
Now begin drawing the knight’s head and gradually add the elements of the plate armor. Draw the visor, which is the part of the helmet with openings for the eyes. Trace the line of the neck using curved lines. Erase the unnecessary guidelines and extra strokes. Smooth and darken the lines.

Step 7: Draw the chest plate and shoulder armor
Draw the shoulder protectors, or gardbraces, using rounded lines and shapes. Trace the outlines of the torso, adding the central reinforcing ridge line on the chest plate of the armor.

Step 8: Draw the fauld and tassets armor
Next, draw the part of the knight’s armor that covers the pelvic area and is divided into segments. First depict the outer section, then the inner overlapping plates. This area is called the fauld and tassets, and it consists of multiple articulated plates that protect the waist and upper legs while still allowing movement.

Step 9: Detail the knight’s arms and shield
Now move on to the arms and draw the visible parts of the armor covering them. Carefully trace the outlines using darker lines. Draw the visible part of the gauntlet and outline the contours of the shield.

Step 10: Draw the knight sword and gauntlet details
Trace and darken the outlines of the sword, making them cleaner and more defined. Then draw the gauntlet of the knight, adding the plate armor elements protecting the fingers. Erase the remaining construction lines from the upper part of the warrior’s body.

Step 11: Refine the knight’s legs and foot armor
Draw the knee protectors of the knight in the form of rhombuses, making the plate armor look more complete in this area. Erase the unnecessary guidelines from the legs. Trace the outlines of the legs to make them smooth and clean. Draw transverse lines on the feet to create the segmented strips of armor.

Step 12: Draw highlights and shadows on the plate armor
To make your drawing of the knight in plate armor look more dimensional and convincing, add highlights and shadows. Keep the surfaces of the armor and the direction of their curves in mind in order to draw the highlights more naturally. Use long transverse strokes to create realistic-looking reflections.

Experimenting with knight plate armor in drawings
Plate armor worn by knights differed quite significantly depending on the exact time period and region. The shape of the helmet, the detail of the elements, and even the number of armor plates could vary greatly.
This gives you a huge amount of freedom for experimentation and for interpreting the steps of this lesson in your own way.
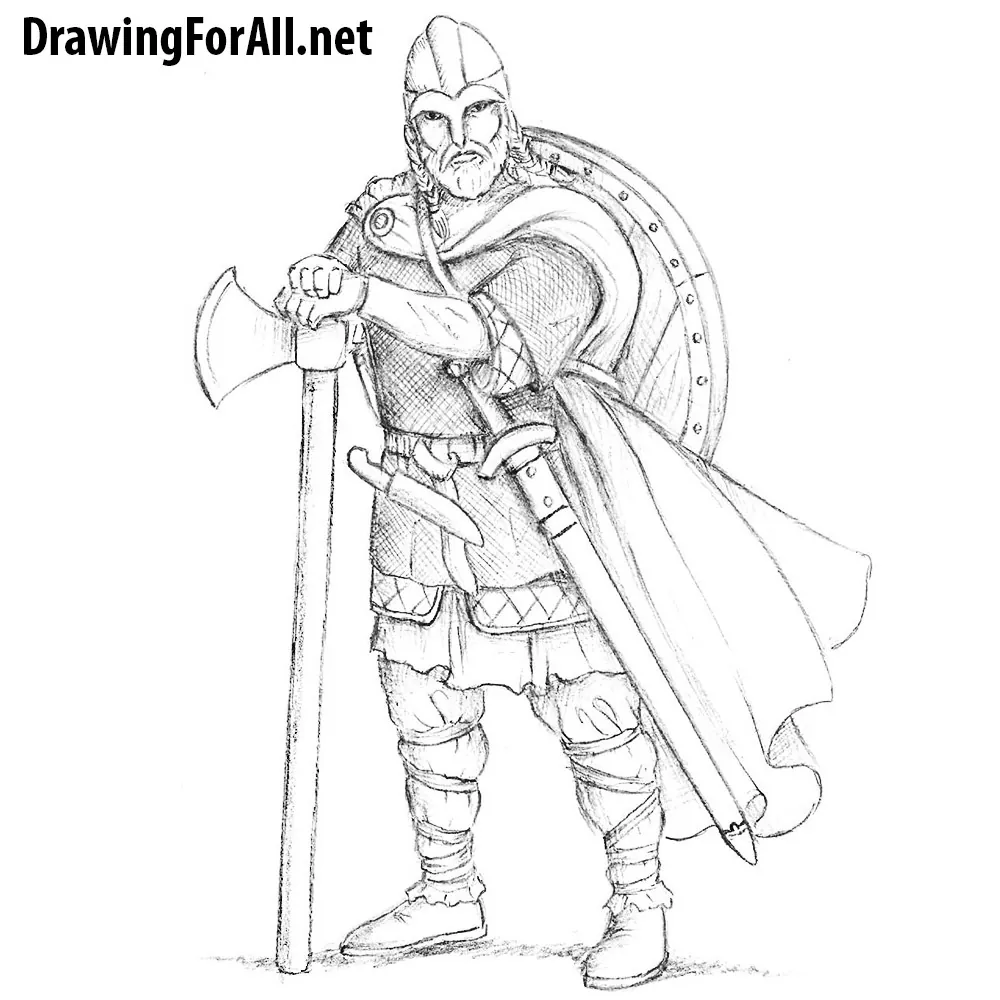
The weapons used by knights could also differ greatly depending on many factors. For example, you can draw a longsword in your knight’s hands and remove the shield.
This will give the warrior a noticeably different appearance. In addition, you can make the overall composition more complex and more fantastical.
By drawing a goblin in the background, you can shift the scene from reality into a fantasy setting. You could also draw an ogre or any other mythical creature.



Nice Drawing i loved it
HOW did you do THAT???!!!!
this is nice and easy!
This was a fun drawing to and I really enjoyed it
can show us a video
Ye 👍
Easy ish but hard at the same time especially the erasing.
why…..just why….